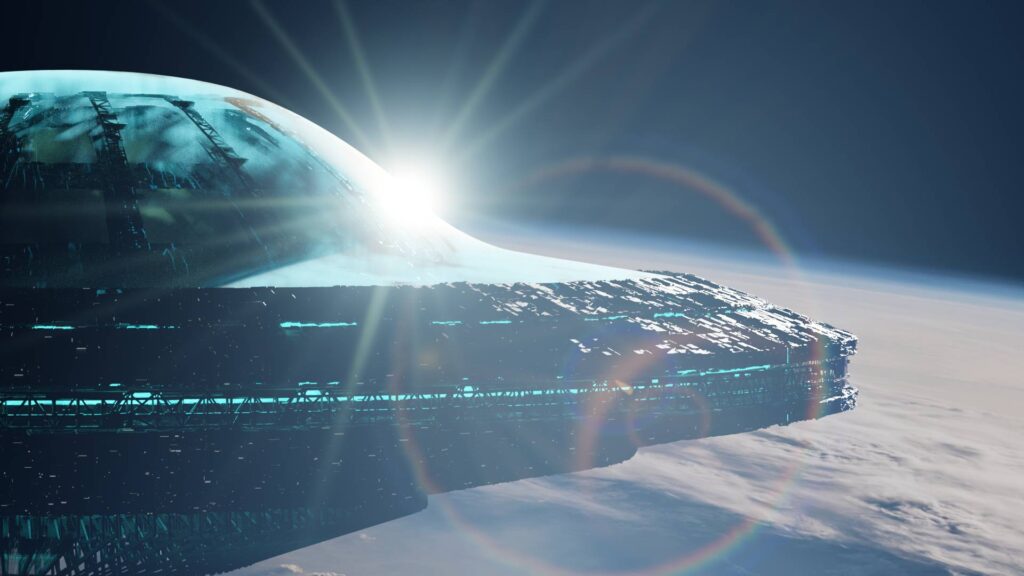
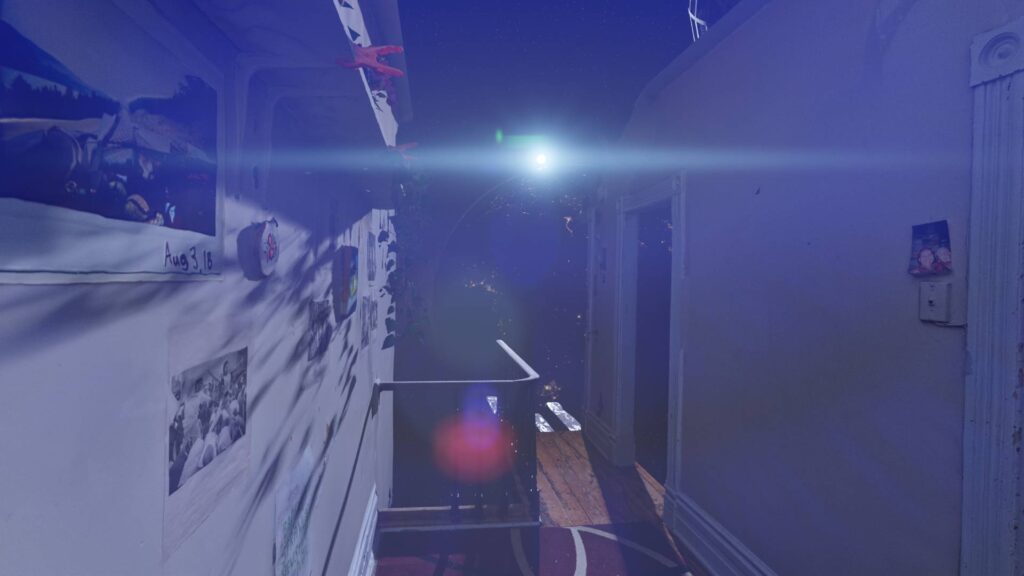
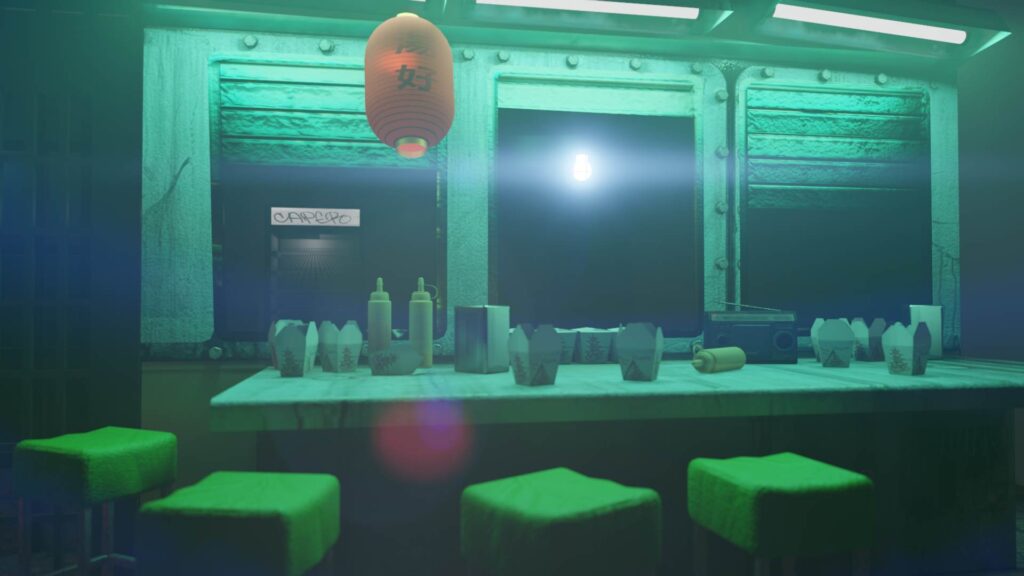
Easy Lens Flares is a real time drag-and-drop lens flare solution for Blender. It utilizes procedural techniques with the new GPU compositor released with Blender 4.2.
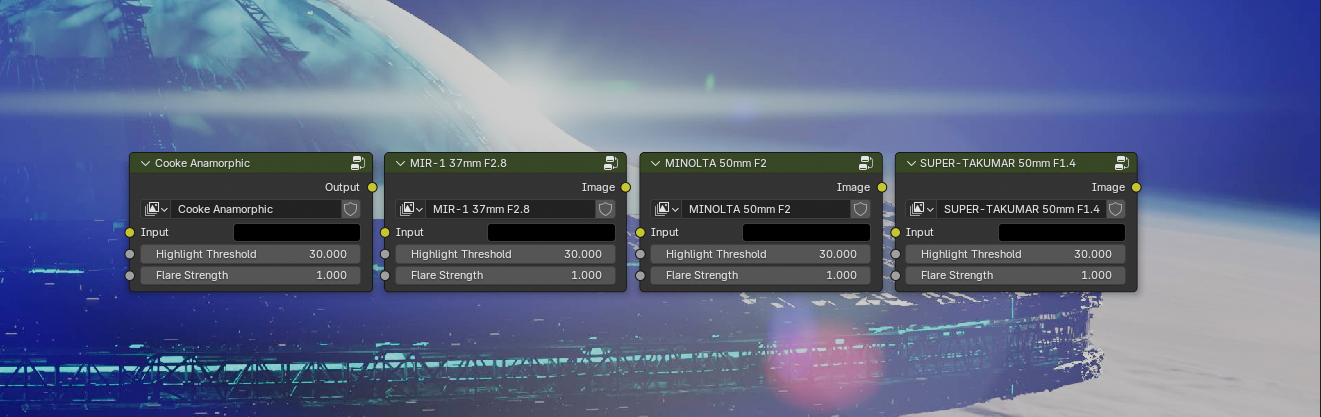
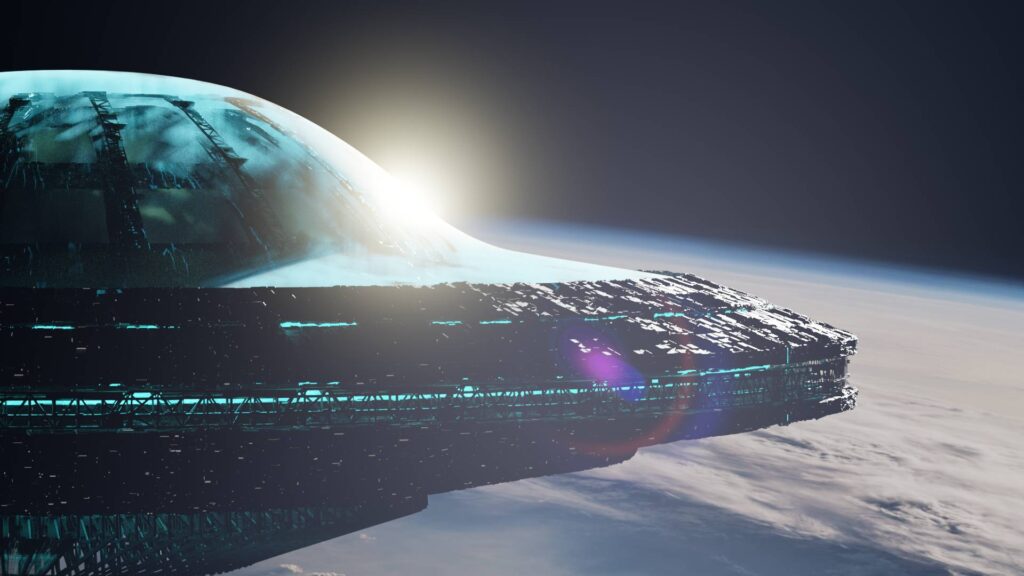
There are currently four lens flares which are all based off real cinema lenses. I used reference footage shot by pastamatt on youtube. The reference video I used can be found here. (Thanks pastamatt!)
Minolta 50mm f2
SUPER-TAKUMAR 50mm F1.4
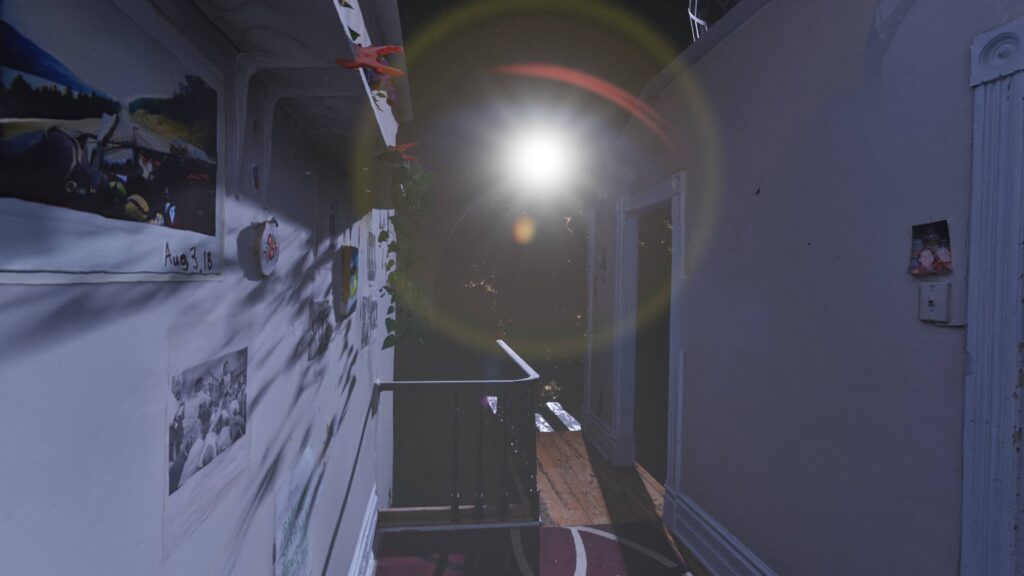
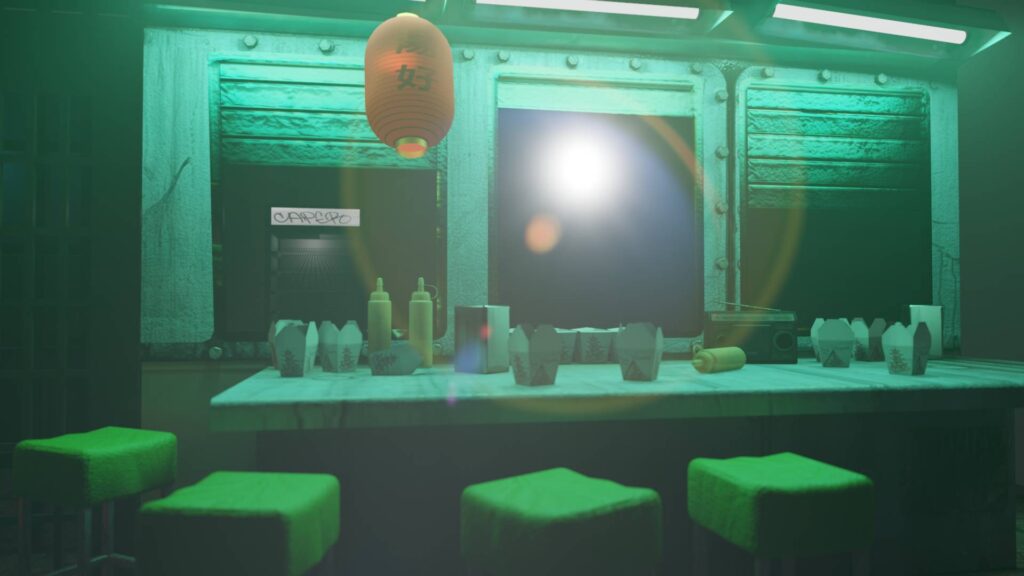
MIR-1 35mm F2.8
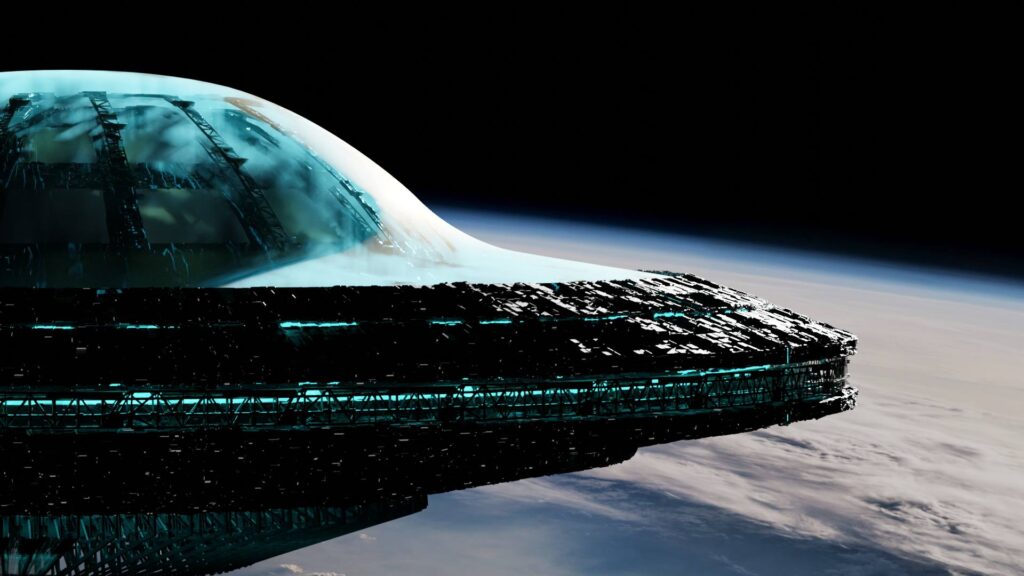
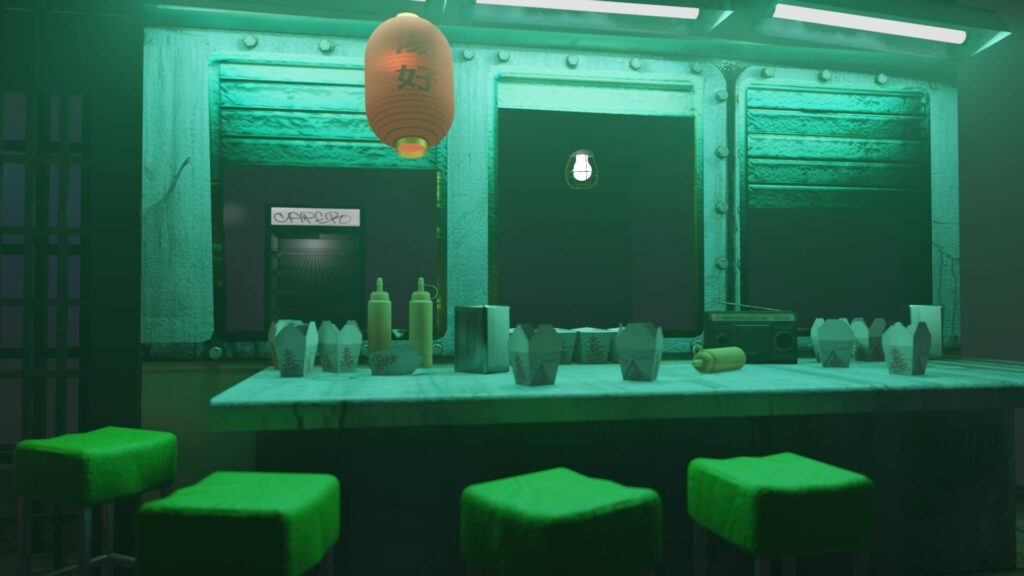
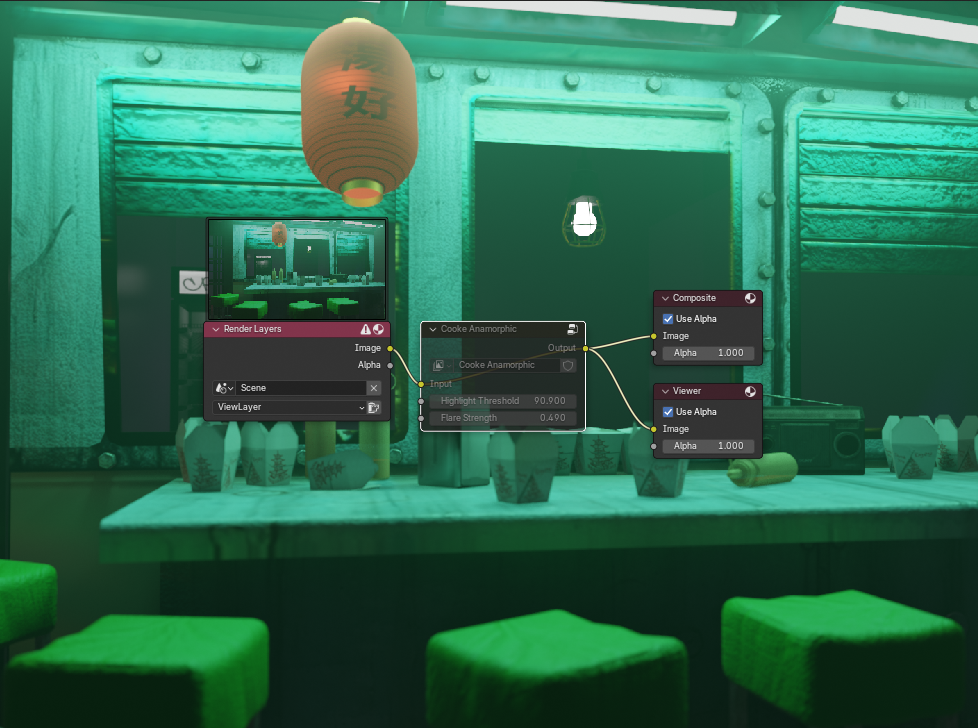
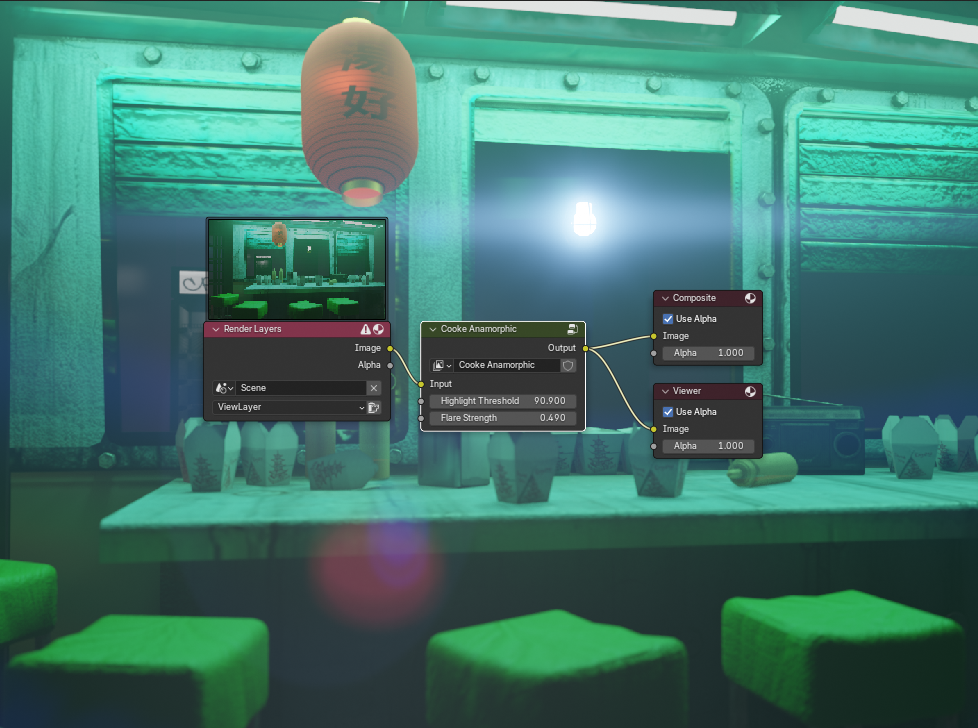
Cooke Anamorphic

And more to come!
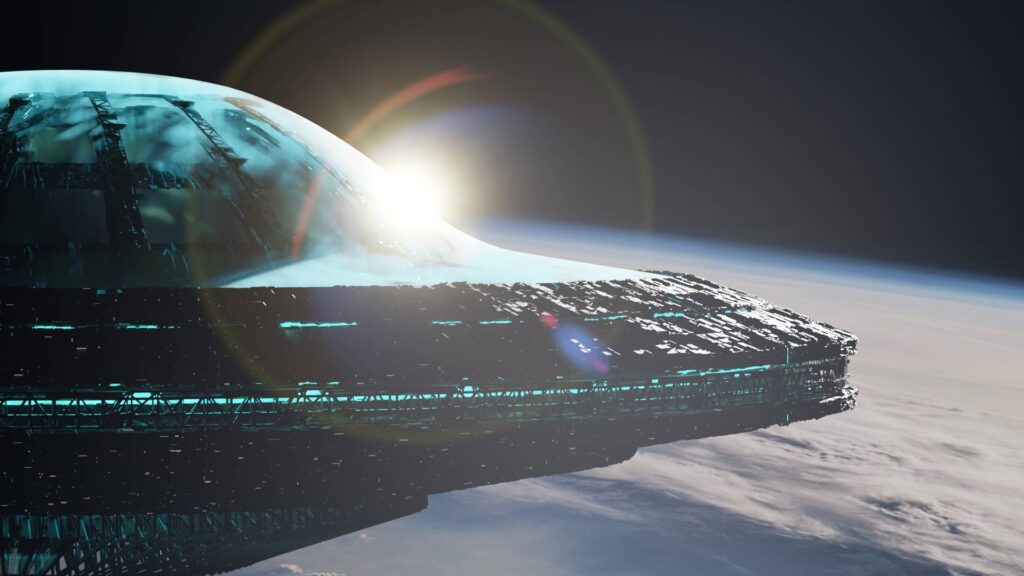
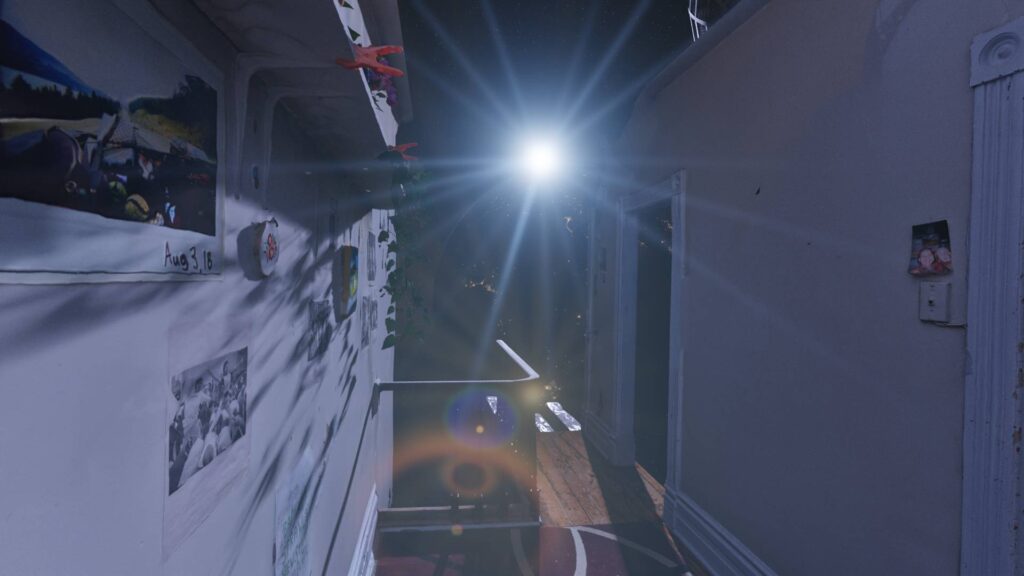
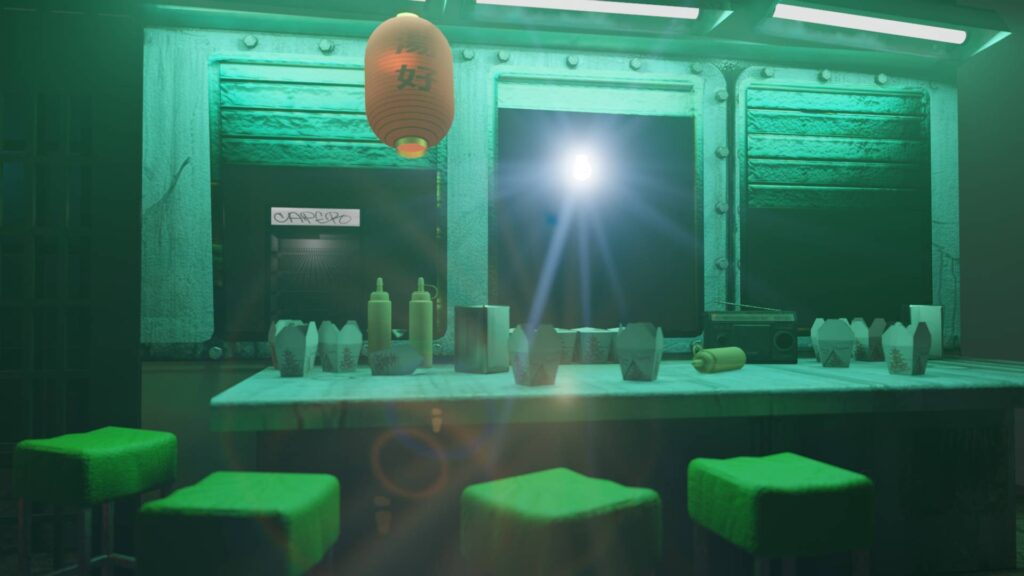
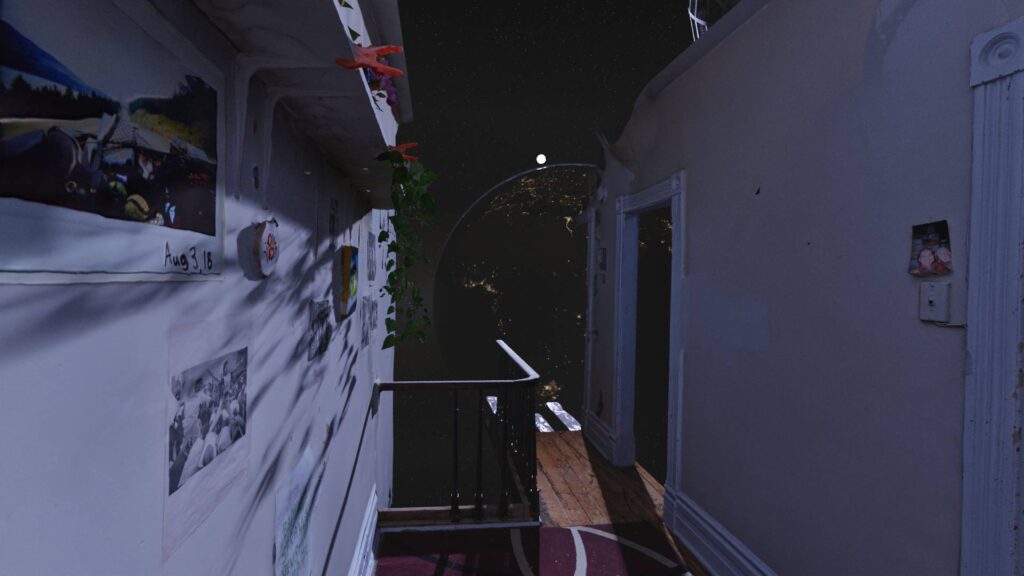
Here are the renders without flares for context:
Features:
- Simple two slider controls
- Modeled off of real cinema lenses
- Realistic roll-off when light is obscured
- Doesn’t clutter up your scene with 3D objects. They’re entirely compositor based
- No tracking nor animating
- Plays well with HDRIs
- Works with Cycles and EEVEE
- Works well in the viewport compositor
- Just a single node group; no cluttering up the N-menu
How to Install:
- Open your default blender scene
- Click “File → Append”
- Find “easy_lens_flares.blend” and double click
- Find “NodeTree” and double click
- Shift click to select all the nodes starting with lens_flare and click “Append”
- *OPTIONAL* “File → Defaults → Save Startup File” if you want them accessible for every new project
- Go to the compositing workspace and hit SHIFT+A to add, and under “Group” you should find the flares
- Drop into your composite setup
- In the compositor, press N to toggle the N menu. Under “Options” tab make sure your device is set to GPU
- You’re good to go! Turn on your viewport compositor to see some flares in action
You can also append the node groups to scenes you’ve already made, just skip the step where you save as a default startup file.
Best Practices:
(I’ll be going over this in a video linked here in the future.)
-The lens flares need an emissive object in the scene to work. Since lights in Blender aren’t visible to the camera you’ll need to make an emissive object (like an icosphere), give it an emissive material of about 30 strength, and place it where the light in the scene is or would be. If you don’t want it to affect the lighting of the scene just go to the Object Properties tab and under “Ray Visibility” uncheck all the visibilities except for Camera.
-You might need to toy with the strength of the emissive light and the sensitivity slider on the node. The size of the emissive object affects its brightness, so it can be a bit of a balancing act.
-If you’re using lens flares with an HDRI make sure you choose and HDRI that makes sense. Pick one with a single bright point from a sun or lamp in the HDRI. You may need to crank the sensitivity slider on the lens flare node up to like 200 too since HDRIs have a very wide range.
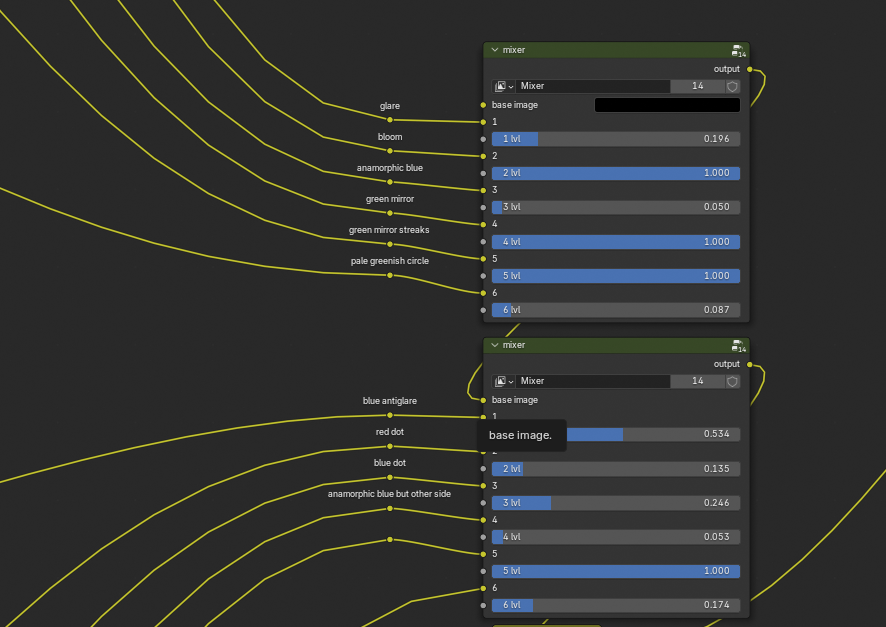
-If you want to make adjustments to the individual elements of a flare click on the group and press TAB to enter it. At the end of the node group there will be “mixer” nodes. Play with those to adjust the levels.
Lens Flare Limitations:
- Limited to screen space.
- Requires an emissive object in the scene.